
Size Matters!

Trying to decide which size drawstring bag you need? A size larger than what “just fits” is the short answer. The larger size is necessary for the
bag to close properly and so it doesn't look like you skimped. In order for the bag to draw shut nicely it needs the
extra space.
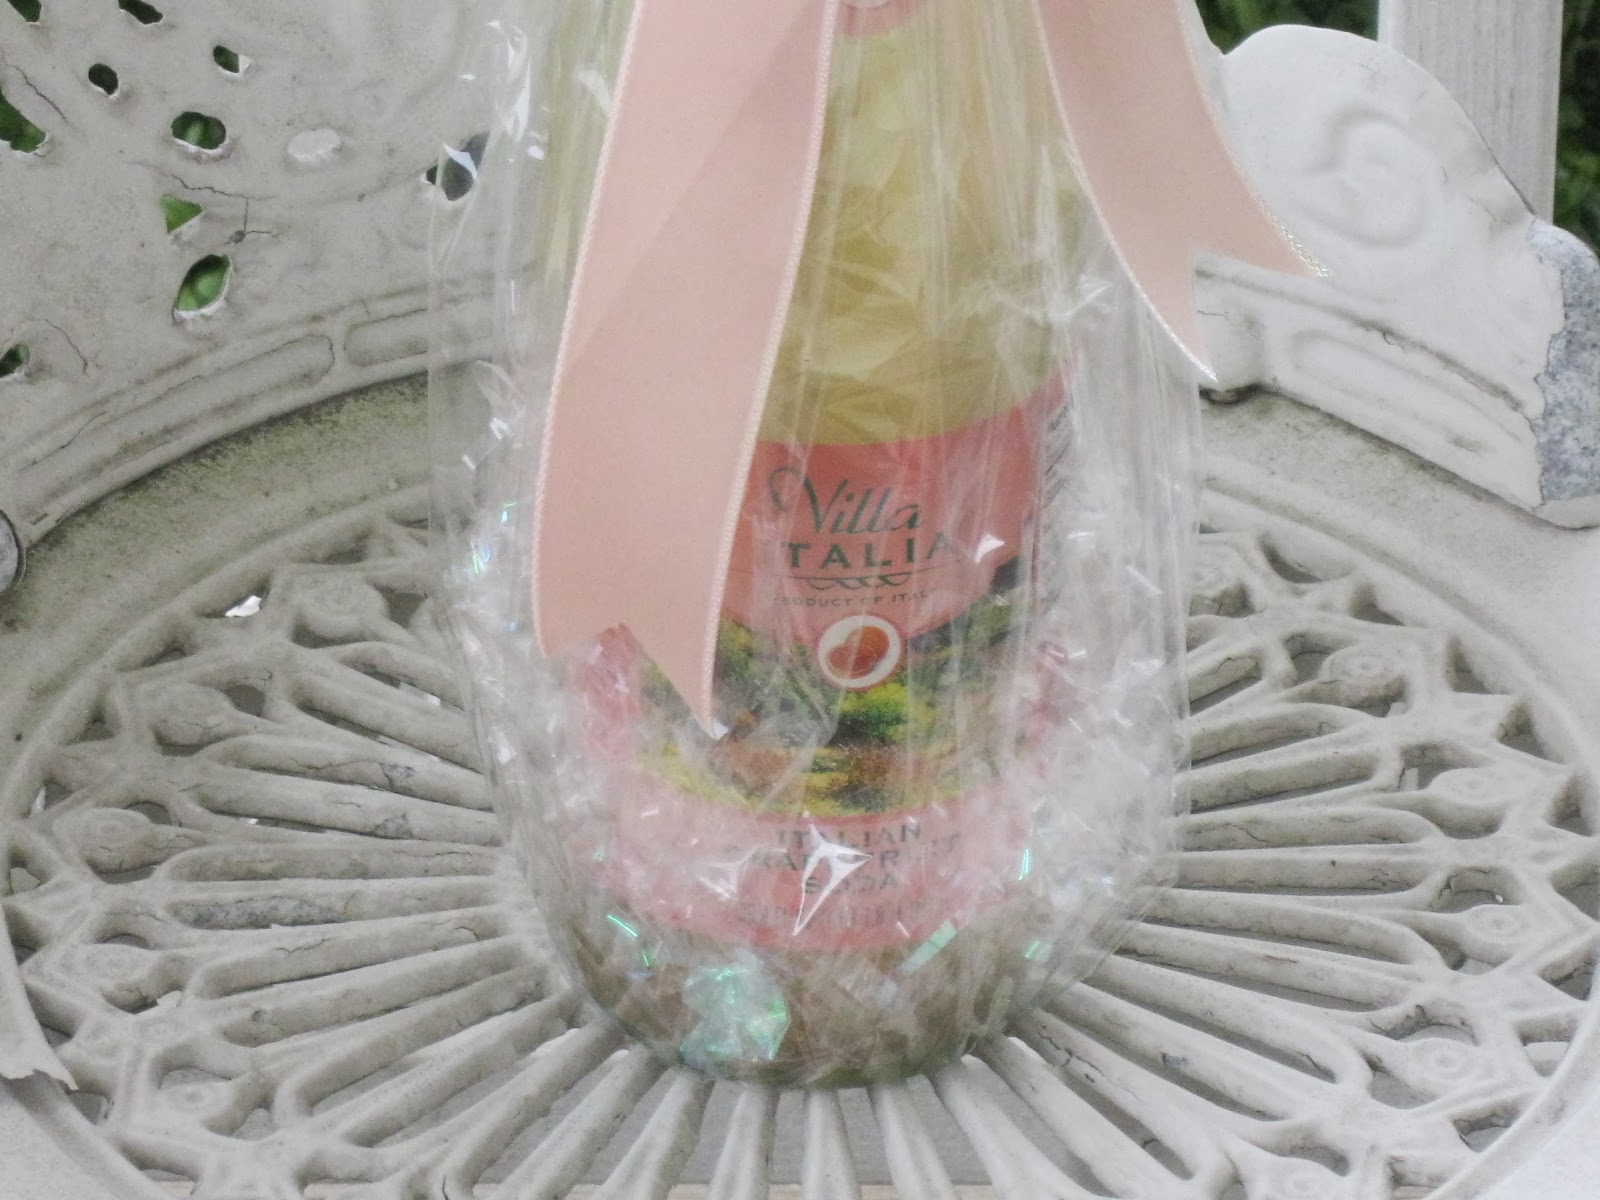
For instance, although you may feel a standard CD jewel case (5” x
5-1/2”) should fit in a 5” x 7” drawstring bag you maybe disappointed in the
appearance when you place the item in the bag as the bag will not close tightly
and the corners of the case seem to protrude. But… if you place the same
CD jewel case in a 6” x 10” bag it will look lovely, the bag will close very
nicely and it has the correct appearance. The soft organza fabric needs
to be able to fold around the rigid square jewel case for the drawstring
closure near the top of the bag to be able to pull tightly shut.
Usable dimensions for a drawstring bag are always less than the actual
dimensions. The usable dimension is the inside area of the drawstring bag that
can be used for product(s) and still leave room for the bag to draw closed
properly. Below are a few examples of actual bag size with their usable
dimension size along with a product guide to give you an idea of how the bag
will hold popular favor and gift contents.
Drawstring bag actual size 3” x 4” = usable dimensions 3”
x 2”
A single lip balm up to 2-1/2” long or a single pot of lip gloss, lavender
for a small sachet, small jewelry, a single tea light candle, birdseed, a golf
ball. 3” x 2” organza bag holds 10 Hershey's Kisses TM

Drawstring bag actual size 4” x 6” = usable dimensions 4”
x 3”
Multiple lip balms, lipsticks or a pot of lip gloss, a 3 to 4 oz. bar of
soap, a votive size candle and small holder, a Christmas ornament, potpourri
sachet, jewelry pouch, cosmetics, a bath fizzy, a tennis ball. 4" x
6" organza bag holds 25 to 30 Hershey's Kisses TM

Drawstring bag actual size 5” x 7” = usable dimensions 5”
x 4”
3" tall pillar candles, small (3.7 oz) apothecary style holders and
candles, standard household size bar of soap or a bar of natural soap hand cut
from a block, perfumes, other toiletries and cosmetics, 5" x 7"
organza favor bag will hold 40 to 50 Hershey's Kisses TM

Drawstring bag actual size 6” x 10” = usable dimensions
6” x 8”
Multiple bars of soaps, a 4” to 5” pillar candle, sachets, jewelry,
cosmetics, a CD, 6” x 10” organza favor bag will hold 1 lb of Hershey’s
Kisses TM


Fun Tip: What do you do with organza bags when they have served their gift giving life...they go out to the garden, of course. When capturing seeds to sow for next year slip the organza bag over the head of the flower just before it will drop its seeds draw the string around the stem and let the bag do the collecting for you.


